For many digital artists, exploring new and unique art styles is an exciting way to expand their creativity. One such captivating style is Pyanyasha, which has gained popularity for its vibrant color palettes, expressive lines, and dynamic compositions. In this blog post, we’ll guide aspiring digital artists through a step-by-step tutorial on how to create artwork in the distinctive Pyanyasha style. Whether you are a beginner or an experienced artist, this tutorial will help you master the basics and elevate your skills.
Key Points:
- Pyanyasha is known for its bold use of color and expressive lines.
- It emphasizes strong, dynamic compositions, making the artwork feel alive.
- Mastering the Pyanyasha style takes practice, but with the right tools and techniques, you can achieve amazing results.
What Is the Pyanyasha Art Style?
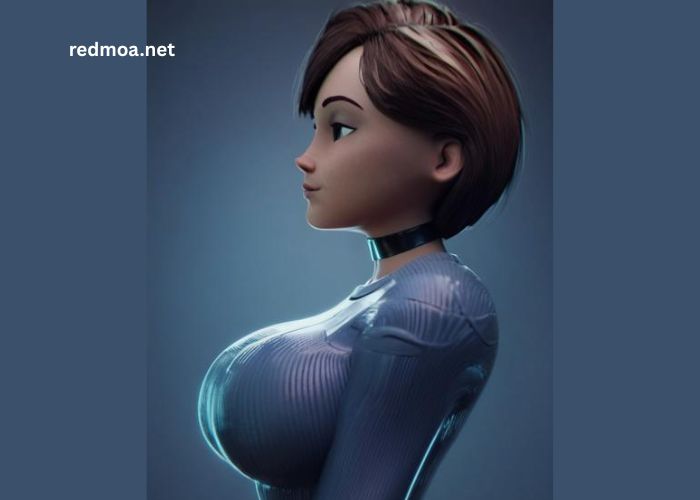
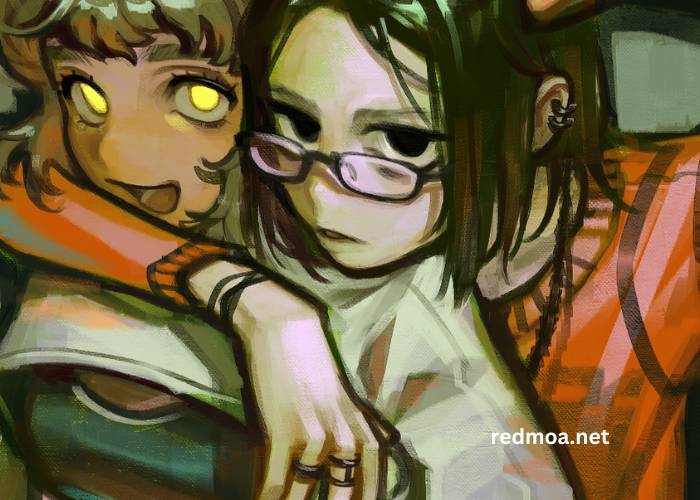
Before diving into the tutorial, it’s essential to understand what makes Pyanyasha unique. This style is characterized by vibrant colors, intricate linework, and exaggerated, sometimes surreal proportions. The subject matter often explores fantasy, emotion, and movement, creating a sense of energy in each piece. The distinctive use of lighting and shadow also adds depth, making each artwork appear more three-dimensional.
Artists who follow the Pyanyasha style often push the boundaries of traditional techniques, blending digital and hand-drawn elements to create visually stunning works of art.
Key Elements of Pyanyasha Art:
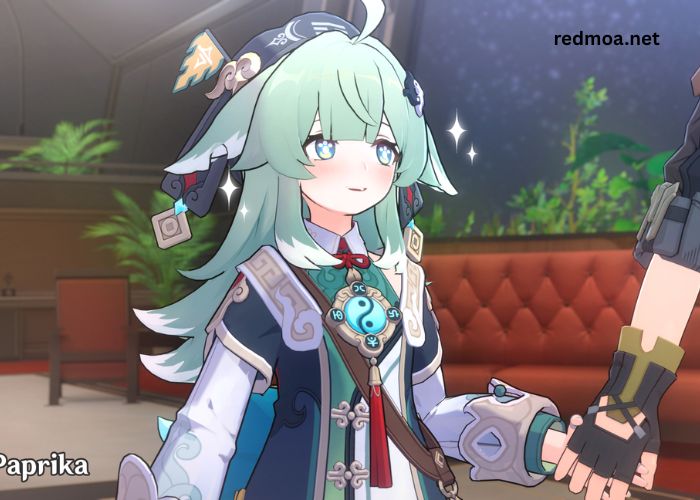
- Bold Colors: Bright, contrasting hues dominate the compositions.
- Dynamic Lines: Strong, fluid lines that create movement and depth.
- Exaggerated Proportions: Emphasizing certain features for emotional effect.
By the end of this tutorial, you’ll have a clear understanding of how to incorporate these core elements into your own digital artwork.
What Tools Do You Need for Creating Pyanyasha Art?
To create Pyanyasha art, you’ll need some essential digital tools. Here are the basic tools required for beginners and intermediate artists:
| Tool Category | Recommended Tools | Description |
| Digital Drawing Tablet | Wacom Intuos, XP-Pen, Huion | A tablet allows for precise drawing control, essential for creating clean linework. |
| Software | Adobe Photoshop, Clip Studio Paint, Krita | Powerful art software with features such as layers, brushes, and color management. |
| Brushes | Custom brushes, pixel brushes, texture brushes | These tools help you create dynamic line work and texture effects. |
Note: Make sure your tablet and software are compatible with each other before beginning your artwork. When selecting your tools, remember that there is no one-size-fits-all approach. Some artists prefer a particular tablet or software, so experiment and find what works best for you.
How to Start a Pyanyasha Artwork from Scratch
Now that you have the necessary tools, let’s start your first Pyanyasha art piece. Here’s a step-by-step breakdown to guide you through the process.
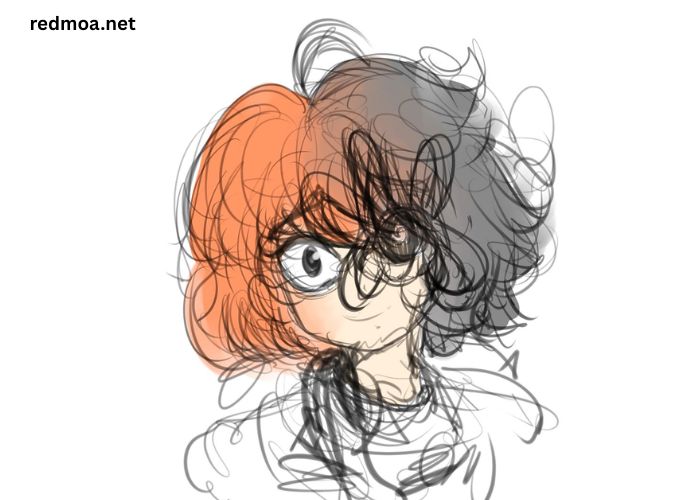
- Conceptualization: Begin by deciding on the subject of your artwork. In Pyanyasha art, the theme can be anything from fantasy creatures to abstract emotion. Sketch a rough outline of your concept using basic shapes and lines.
- Creating a Sketch Layer: On a new layer, create a rough sketch of your composition. This is where you’ll map out the basic structure and proportions. Focus on capturing the dynamic movement of the subject.
- Incorporating Color: One of the most exciting aspects of Pyanyasha art is the bold color palette. Select vibrant, high-contrast colors that will make the artwork pop. Apply base colors to your drawing and adjust their intensity using blending modes.
- Defining Lines and Shapes: The next step is to refine the lines and shapes. Use a hard brush to clean up your sketch, defining key features and adding extra details such as facial expressions, textures, or intricate patterns.
- Shading and Lighting: Use dramatic lighting to give depth to your piece. In Pyanyasha art, lighting plays a crucial role in enhancing the emotional tone of the artwork. Use high-contrast shadows to emphasize the subject’s forms and create the desired mood.
- Final Touches: Once your artwork is nearly complete, add additional details, such as sparkles, highlights, or textures, to bring the piece to life. Don’t forget to step back and assess the overall composition.
Reminder: Don’t rush through the process! Take your time with each step to ensure your artwork feels balanced and expressive.
What Are Some Common Mistakes to Avoid in Pyanyasha Art?
Like any art style, creating Pyanyasha artwork comes with its own set of challenges. Here are some common mistakes that aspiring artists should avoid:
- Overusing Detail: While it’s tempting to add intricate details everywhere, sometimes less is more. Focus on the key elements of the artwork to keep it visually appealing and dynamic.
- Inconsistent Lighting: Lighting plays a critical role in this style. Avoid inconsistent lighting that can make your piece look flat and disconnected.
- Stagnant Poses: Pyanyasha art thrives on movement. Be sure to incorporate dynamic, flowing poses to maintain energy in the composition.
Note: Remember, it’s better to experiment and make mistakes than to avoid trying something new! Every error helps you learn and improve.
How to Refine Your Pyanyasha Artwork
The first draft is just the beginning. To elevate your Pyanyasha artwork, focus on refining the details, adjusting the color balance, and exploring different techniques for texture and shading. Consider the following tips for refinement:
- Zoom Out Regularly: Periodically zoom out from your canvas to get a fresh perspective. This helps identify areas that need more attention or improvement.
- Use Layer Adjustments: Experiment with layers, opacity, and blending modes to add more depth and dimension to your work.
- Seek Feedback: Don’t hesitate to ask other artists for constructive feedback. Fresh eyes can offer valuable insights that you might overlook.
| Tip | Description |
| Step Back | Regularly zoom out and review your piece. |
| Layer Adjustments | Adjust opacity and blending for a refined look. |
| Feedback | Get critiques from fellow artists or communities. |
By using these techniques, you’ll elevate your Pyanyasha art to new levels of creativity and professionalism.
Conclusion
Creating Pyanyasha art is an exciting and rewarding challenge for any digital artist. With its vibrant colors, dynamic lines, and expressive compositions, this unique style allows you to push your creative boundaries. Remember, practice makes perfect, and it’s important to enjoy the process. As you develop your skills, you’ll create stunning pieces that showcase your talent and mastery of this dynamic style.
The journey of learning Pyanyasha may be challenging, but it’s also incredibly fulfilling. So grab your tablet, fire up your favorite drawing software, and start experimenting!
FAQ’s
- What makes the Pyanyasha art style unique?
The Pyanyasha style is unique due to its bold use of colors, exaggerated proportions, and dynamic lines that convey movement and emotion. - Can I create Pyanyasha art without a drawing tablet?
While a drawing tablet makes the process easier, it’s still possible to create Pyanyasha art using a mouse or other tools. However, a tablet offers better precision and control. - Do I need advanced software to create Pyanyasha art?
No, you don’t need the most advanced software. Programs like Clip Studio Paint, Photoshop, or free alternatives like Krita work well for creating Pyanyasha art. - How do I choose the right colors for my artwork?
Pyanyasha art often uses bold, contrasting colors to create drama. Choose colors that complement each other and reflect the mood or emotion you wish to convey. - How long does it take to master the Pyanyasha art style?
The time to master Pyanyasha art depends on your experience and practice. With consistent effort and learning, you can start producing impressive pieces in a few months.